Dry sensory bins are an insanely popular activity for toddlers and kids of all ages to enjoy. You have two options when it comes to sensory bins—buy ready made ones or make your own.
They both have their benefits and cons.
The benefits to buying them ready made, is you don’t have to do it. You can save your time and buy one made for you. They can also come with items that are harder or impossible to find for you. A con is that they cost money and in my opinion more than I want to spend, but that is a subjective statement and the cost might work out for you! Another con is, you don’t know what the creators are using and if it’s child safe. A lot of sensory bins have dyed items like rice and noodles and you can’t guarantee they’re child safe (yes, you’d hope they were, but there’s no one regulating them to make sure).
The benefits to making your own is you can customize it however you want! You know the dye and products used are kid safe. For me they’re also cheaper because I can buy things in bulk to use again and again (like rice, beans etc). Another benefit is you’re able to make sure they’re allergy safe if you have kids with allergies. The cons are they take time, dyeing the materials, finding the goodies, and putting the bin together. Another con is they do have the potential to cost a similar amount to bought ones if you don’t buy things on sale or in bulk. Potentially another con is not being able to find fun interesting items, like abc noodles or dino noodles etc.
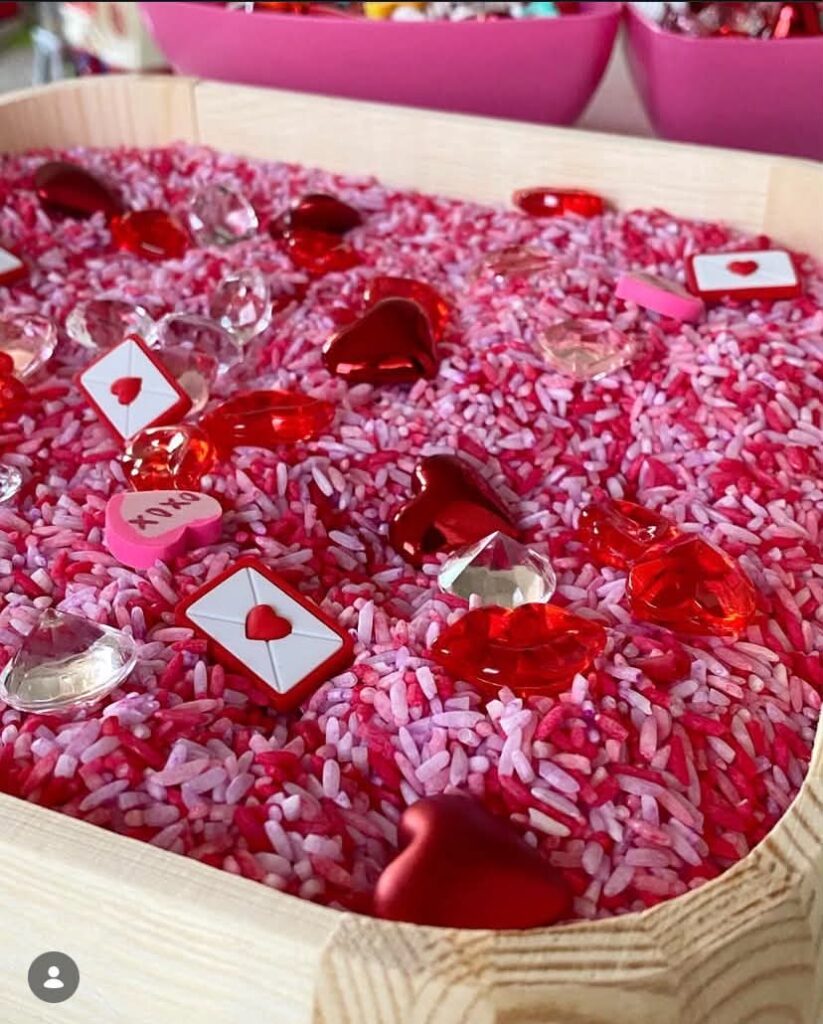
Making your own can be as simple as you’d like. I prefer using rice and/or beans in my bins though we have used noodles and I still have dyed noodles, I just find them more unruly to work with. They are still sensory though!
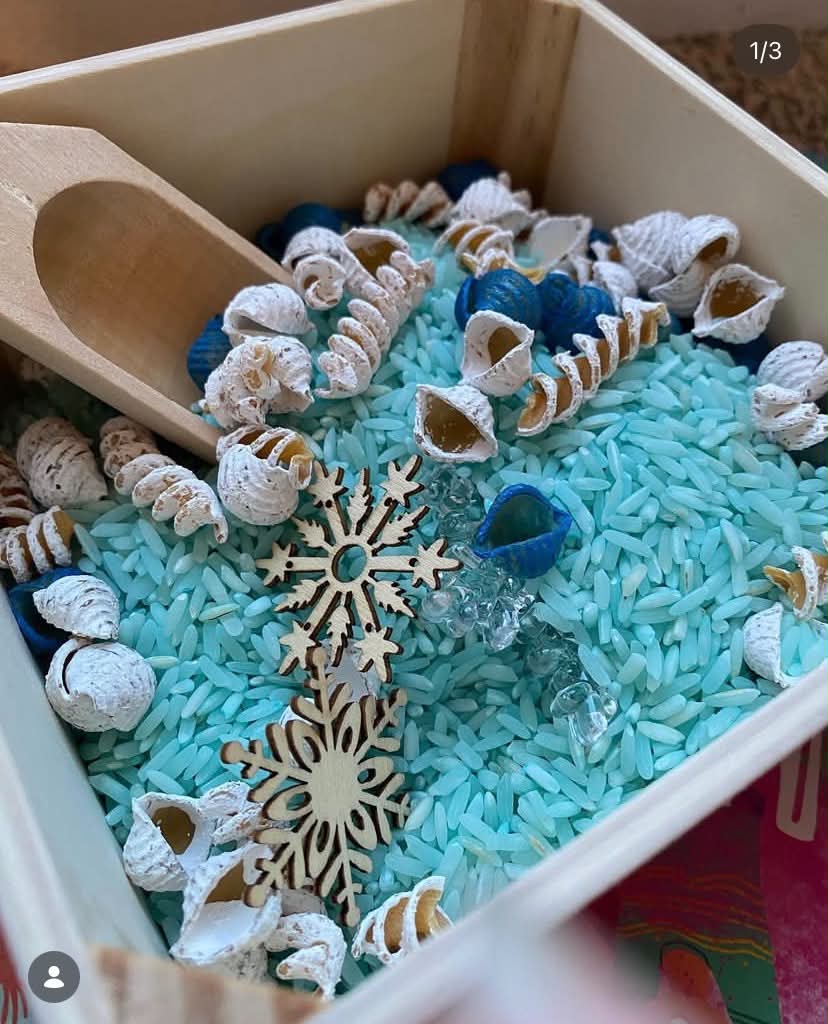
There are many ways to dye rice, though the easiest I’ve found is paint. You can use food coloring, but you’ll need to add a small amount of vinegar to the mixture so it mixes.
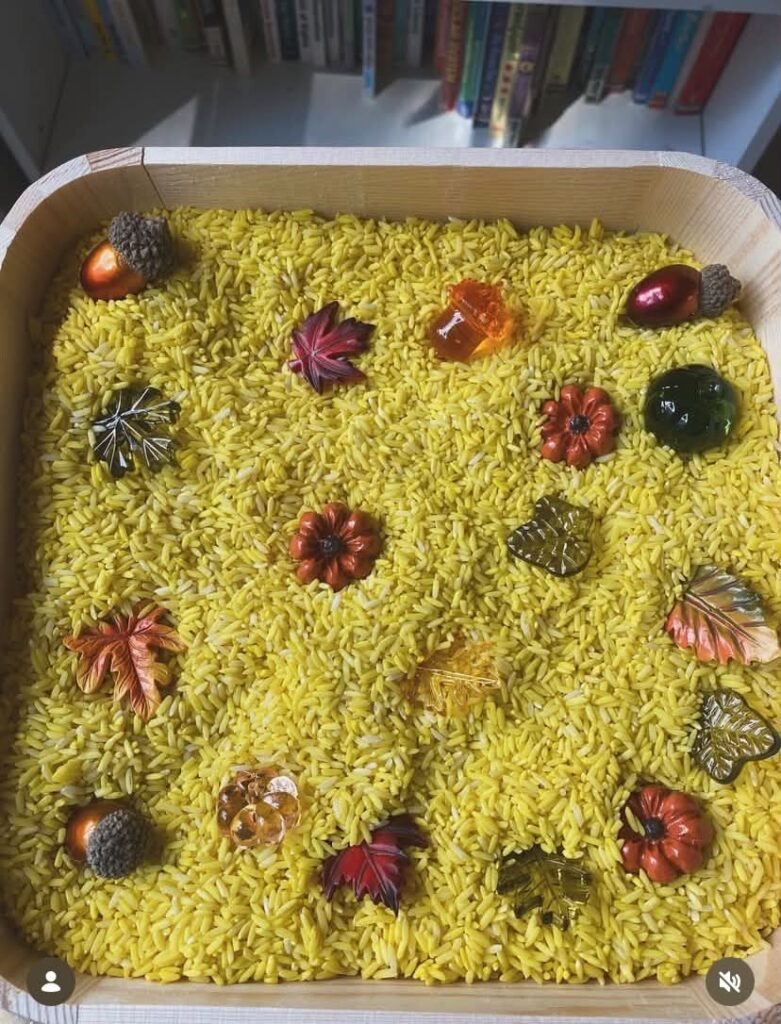
In a ziplock bag, put in a cup of rice (more or less is up to you and the size of your bin), squirt in your desired color of paint, zip closed and mix. I pour mine out onto an aluminum foil lined baking sheet and let it dry completely.
The same can be done for beans (fun tip: chickpeas look similar to pumpkins, paint the halloween colors) and noodles.
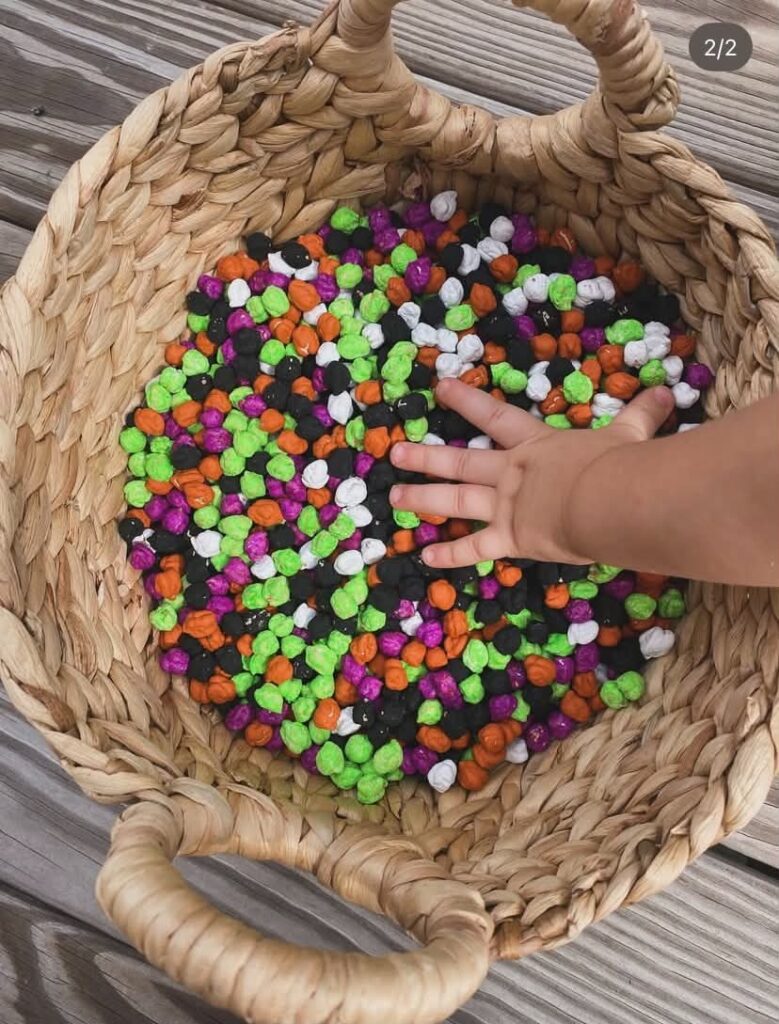
That’s basically it. Once dry, dump it into your bin with your goodies and let your kids have fun. The goodies are also optional. You can let your kids enjoy the bin itself or let them pour the material into smaller bowls/containers. The goodies, again, are just for fun and an added challenge.
For the goodies, wait for sales. Check Hobby Lobby, Dollar Tree, Michaels, any craft store. You can even check Amazon for “[insert holiday or subject] table scatter, jingle bells, [x holiday or subject] cabochons, fairy garden/ doll house accessories, mini [holiday] decorations, [x themed] erasers” etc. Another great thing is going to the toy section of Dollar Tree. We’ve grabbed dinosaurs from there. Also wait for halloween to grab mini skeletons! Check their home decor section for rocks and glass marbles.
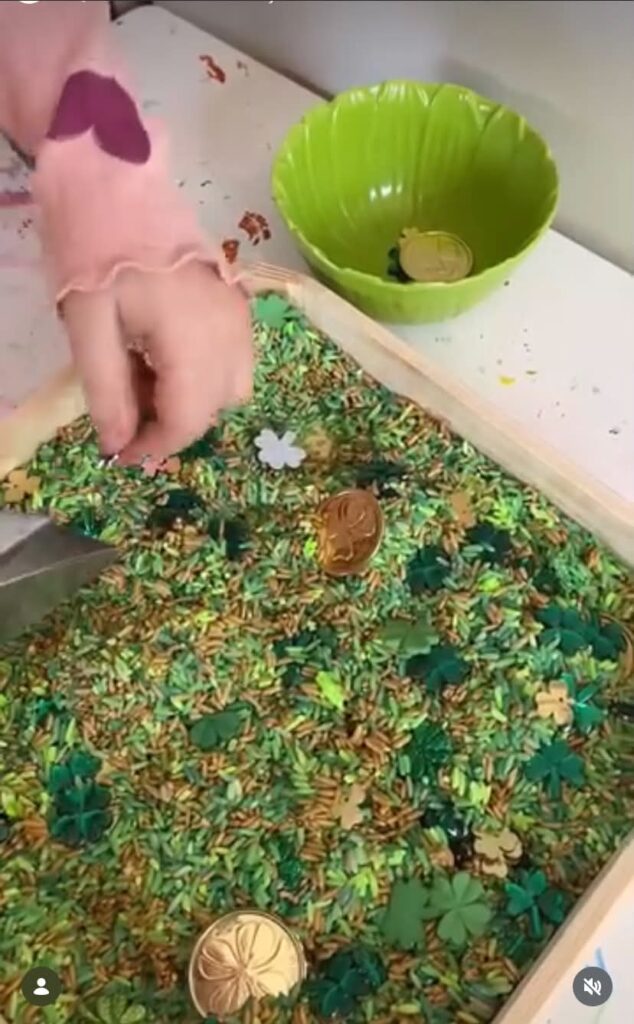
I get 9/10 of my items on extreme sale at craft stores and Dollar Tree.
Also look for scoops, tongs, spoons, small bowls. Hobby Lobby and Michaels generally have these in the baking aisle or in Hobby Lobby’s case, the holiday section.
For beans, rice, and noodles buy in bulk. If you have access to a Sams Club or Costco this will give you the most bang for your buck…Until you want to buy specialty noodles, then you’ll have to get those at full price. Head to the hardware store to get sand in bulk for a sand themed sensory bin. Though, Dollar tree also has small dollar bags of sand if you need a small amount.
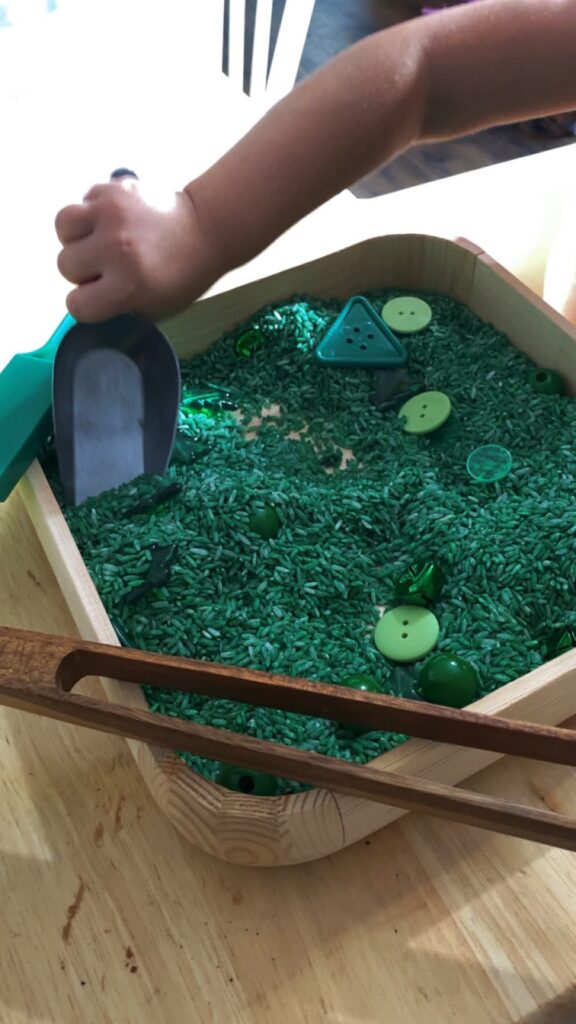
This is just for dry sensory bins. You can also do wet sensory bins which I’ll possibly make a different post on.
Enjoy!!!!